Fresh Pasta!
The new love of my life was birthed by the actual human love of my life. Mr. M listened carefully to all my hints last year and gave me a pasta set for my Kitchen Aid mixer! I love him! (Yes, I ask for kitchen appliances and implements for Christmas. 🙂 ) So after looking at them in the boxes for several weeks, I broke those babies out today and took the plunge into the wonderful world of fresh pasta!
Disclosure: As an Amazon Associate I earn from qualifying purchases.


Today, I stuck to the simple and just made spaghetti. The recipe I used came in the pasta maker attachments’ box. Depending on the time of the year, you may use more or less water in your recipes, and this was one of those instances that I ended up using almost 4 times the amount of water that the recipe outlined. The goal is that after kneading the dough for a couple minutes that it is damp, but not tacky.
Then, after the dough is perfect and has rested for at least 20 minutes wrapped in plastic wrap, it’s time to get this pasta party started!
I choose to alternate making flat sheet and then cutting it because I don’t have a large amount of counter space. So after dividing the dough into quarters, flatten one of the quarters, dust it with flour on both sides to keep it from sticking in the machine, and start feeding it through the pasta sheet attachment on the lowest setting. The sheet of pasta should be passed through the attachment twice on each setting until you hit setting number 5 or 6 for spaghetti (6 makes thinner-more delicate spaghetti which is what I made).
You may find that while you are sending the pasta through the sheet attachment, that the sheet gets extremely long. Since you are making spaghetti, and you don’t want a two-foot long spaghetti strand, feel free to cut the sheet to a shorter length–just remember to keep sending it through the machine until it’s at a 5 or 6 thickness.
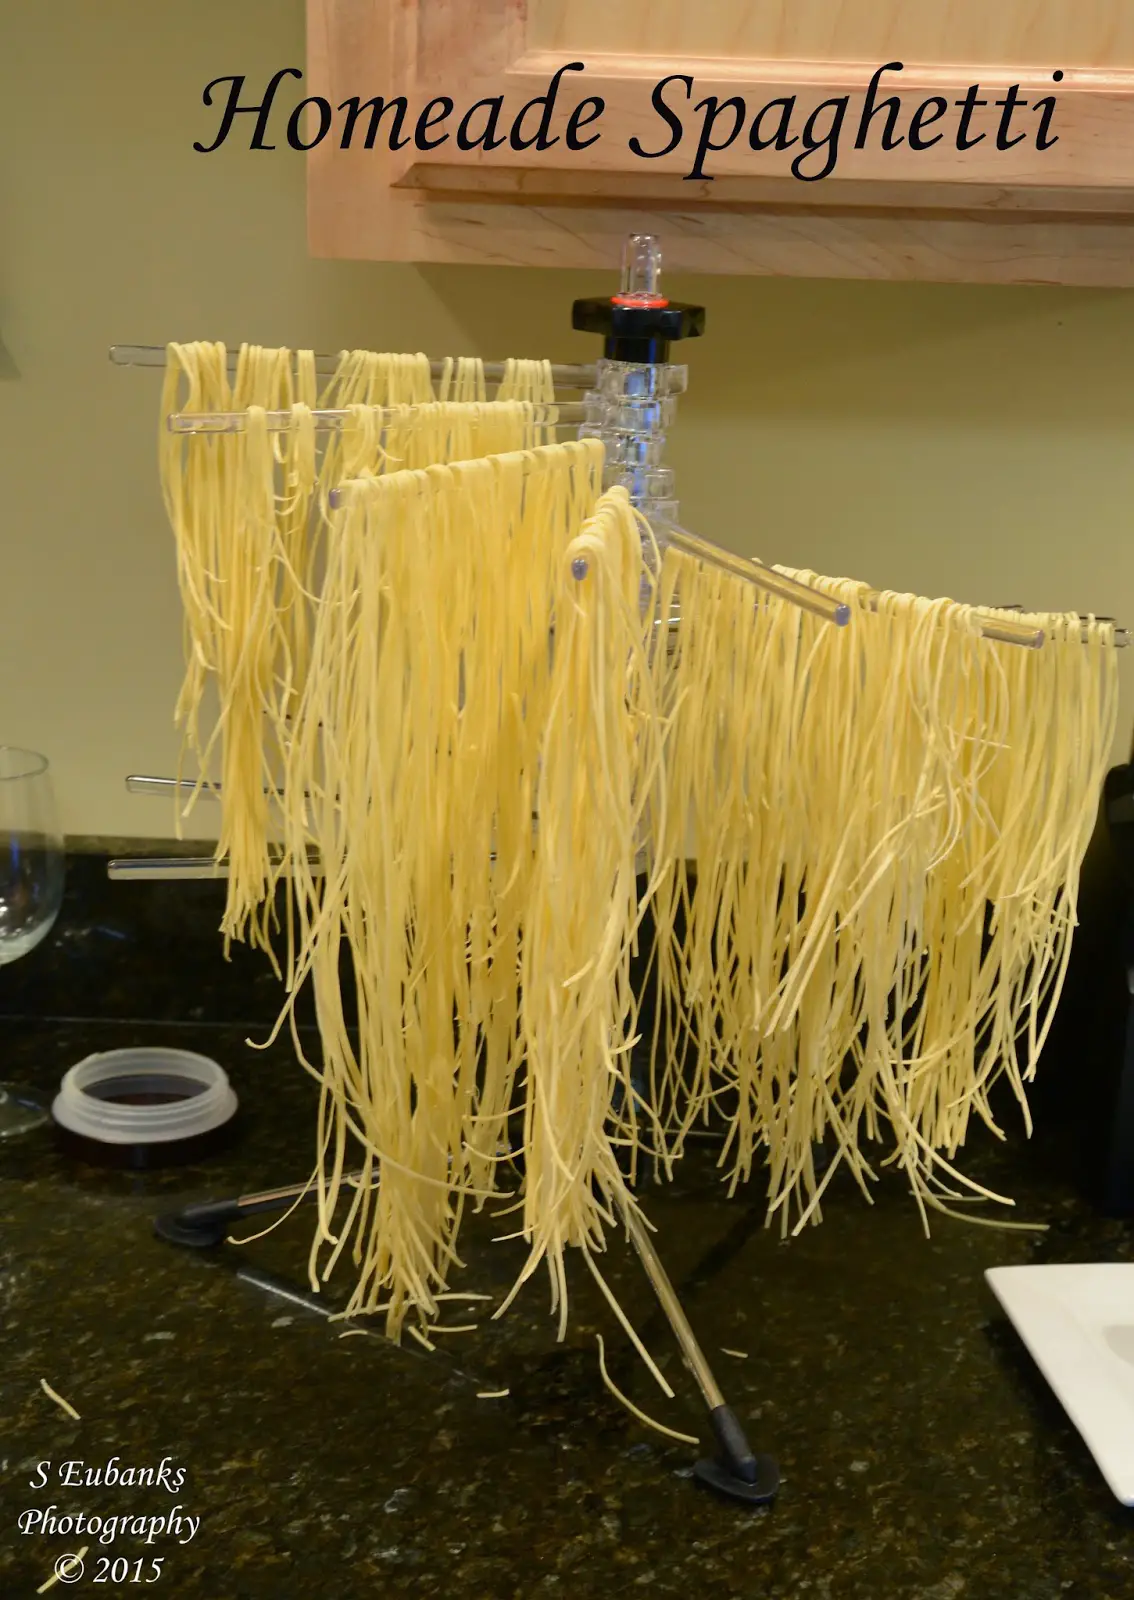
When my sheet of pasta was pressed, I then put it on a floured counter. Once my first quarter of pasta is pressed, I then put on the spaghetti cutting attachment and feed my sheets through the cutter. The spaghetti which comes out is then hung directly onto a pasta drying rack (or you could use a plastic hanger). Then repeat the process for the rest of your dough. (If you would like a fabulous pasta drying rack like mine, check out this Kitchenaid Pasta Drying Rack.)
After all my spaghetti was dry, I put serving sized portions in freezer bags and put in the freezer for quick dinners.
This is some of the best spaghetti, and I promise that once you make the switch to fresh pasta you won’t want to go back to the store bought! I know I don’t!